
Many developers and online people struggle to coordinate tasks with other people. The Google Calendar free program has ended up being a common system that at least most people can easily access. Whether you consider Google’s ever-present nature a benefit or a curse, it does provide a system that is accessible to a variety of systems and users. So how do you create a Google calendar that can be shared and used by multiple people?
To start with, you’ll want to set up a Google account. A Google account gives you access to the wide range of programs Google provides, including the Google calendar. You can start here:
Or just go to google.com and search on “google calendar” – it’ll bring you to the same place. Either create a Google account or log into your existing one.
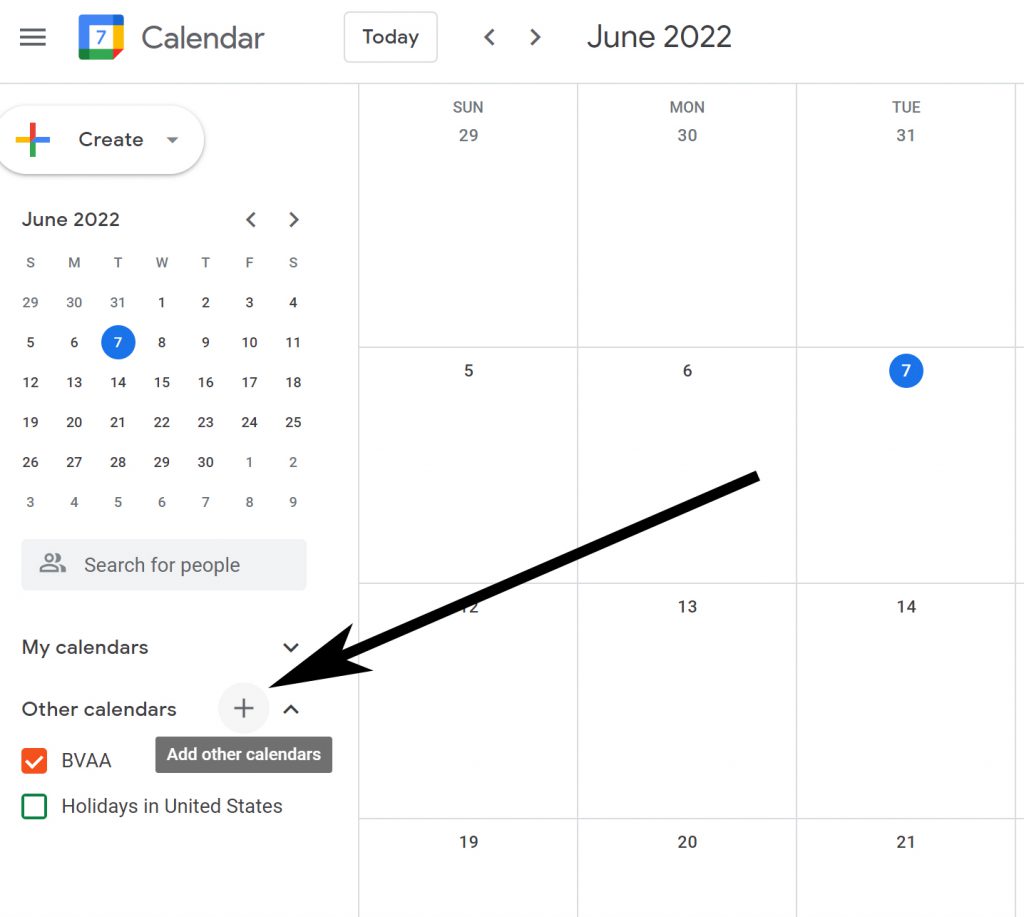
Don’t be fooled by the big ‘create’ button in the top left. That’s for creating events in your calendar. What you want to do is create a specific calendar just for the tasks at hand. Let’s say the calendar is for a project called CatMarketing. The button you want to click is a plus-shaped icon just above the section called “Other Calendars”.
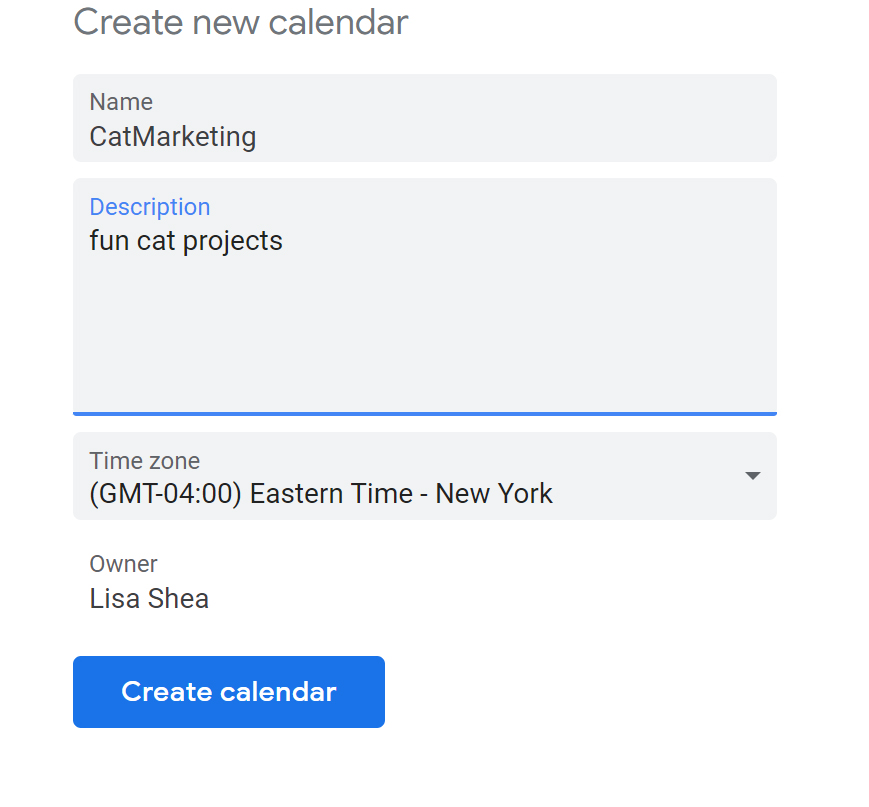
Here you’ll have the option to create a new calendar. Give it an easy to understand name as well as a description.
Once you create it, the calendar should appear on your list of calendars.
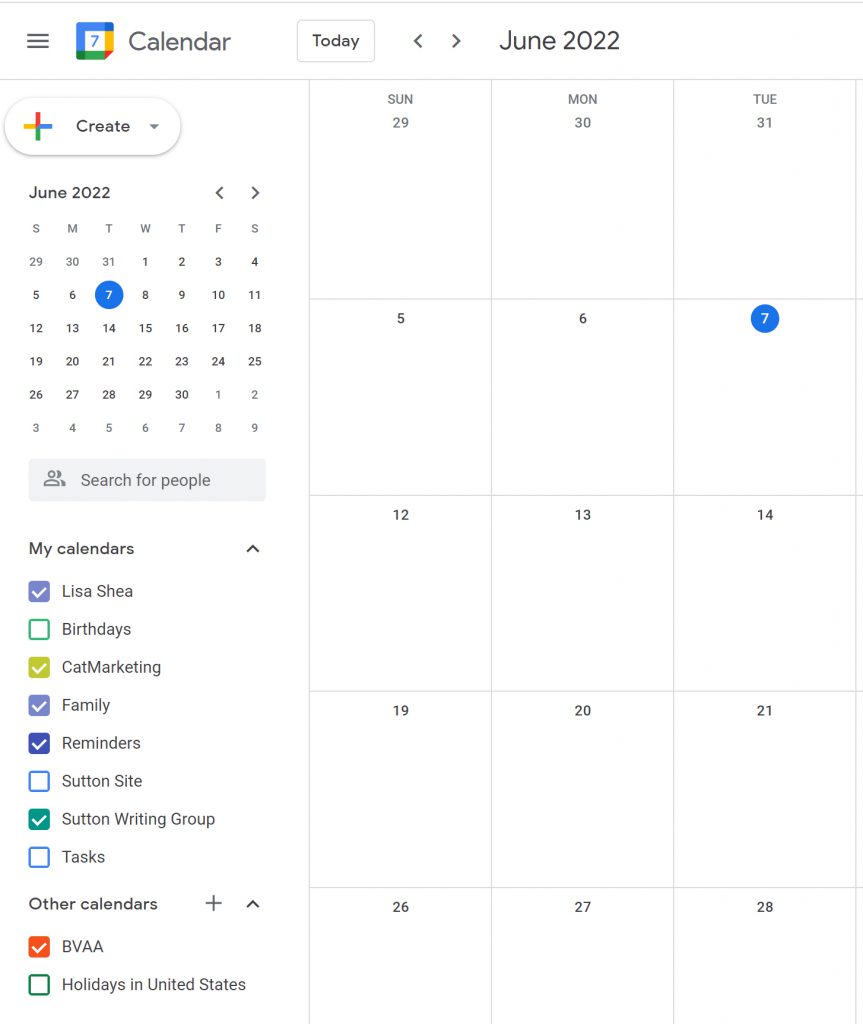
You can now add items to that calendar just like you would with any other calendar you have access to – with the big CREATE button in the left. But how do you share this calendar with other people?
If you hover your mouse over the name of your new calendar, in this case CatMarketing, you should get three vertical dots to its right. Pointing to that should get you a list of options for the calendar:
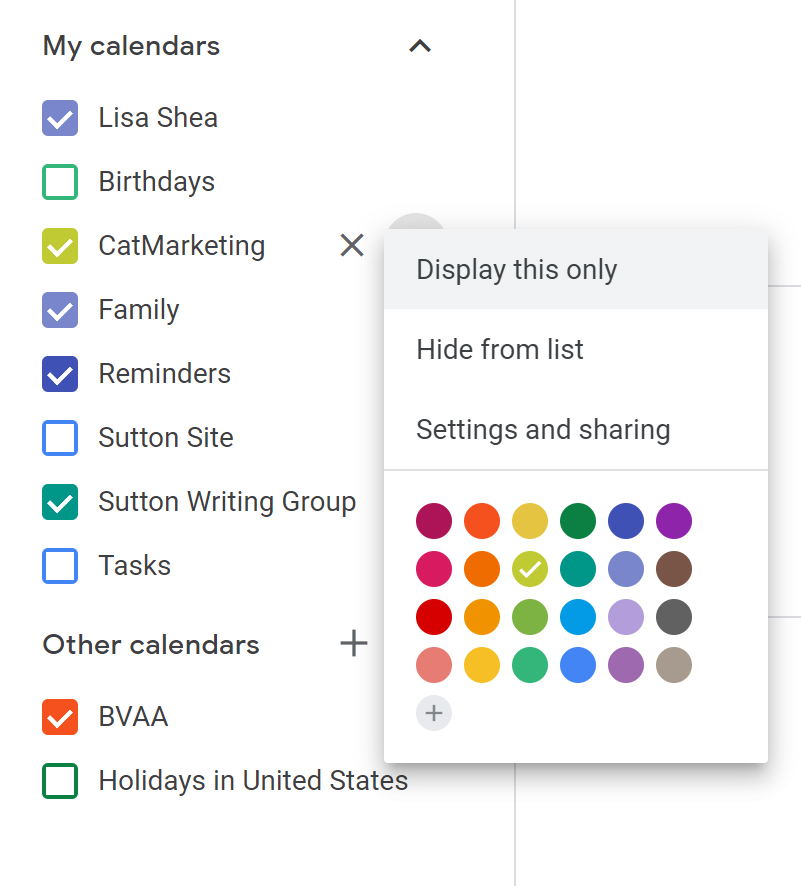
Click on “Settings and sharing”.
Scroll down a bit to get to the settings for making the calendar visible to the public and to sharing editing rights with specific people –
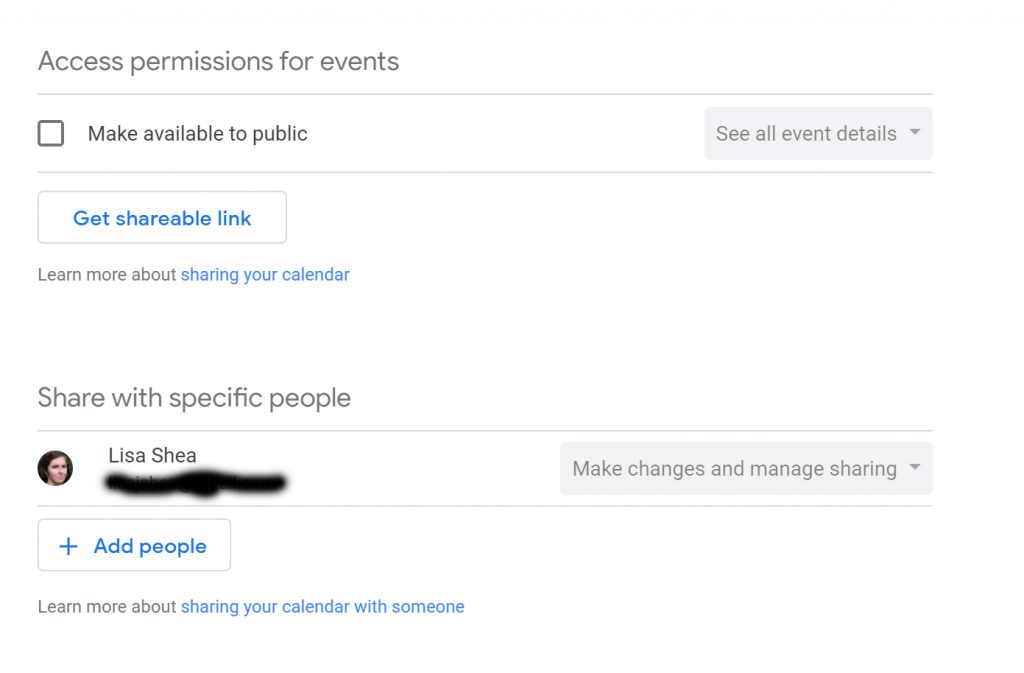
I generally make my calendars public and then also add on specific people who can edit the calendar. You would click ‘add people’ to add in those other editors – usually team members. When you click to add a person, make sure you set their permissions so that they can “Make changes to events”.
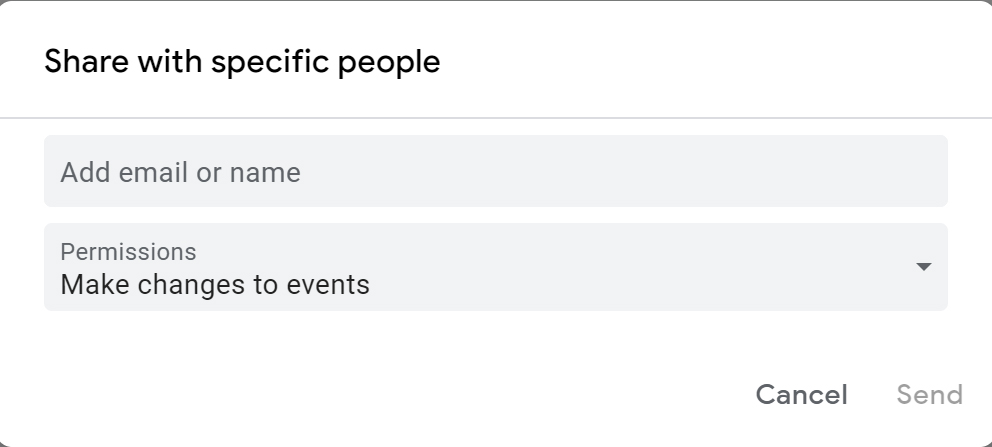
Add in each person you want to be able to have those rights to make changes to events.
Each person you add should get an email message letting them know they now have the ability to change the calendar.
In terms of those external people, let’s say John Smith, seeing the calendar on THEIR own machine in their house, they would want to add the calendar entry to their own system.
So on THEIR system, they would go to their calendar page. If the calendar isn’t already shown there, they can go to the “Other Calendars” option and click the + sign right next to it – the same place you just used to add your new calendar. Instead of saying they want to create a brand new calendar, they’d choose the ‘From URL’ option. They should have gotten the URL when you granted them access to the calendar. If they lost it for some reason, you can see the calendar’s URL in its settings area.
Ask with any questions!
Leave a Reply