

I have had friends lose hundreds of pages of content due to OneDrive overwriting their local files without warning. I’ve read numerous stories from online users who lost critical data because of OneDrive overwriting problems. If you are no longer willing to risk your data security in the OneDrive system, how do you get all your data OUT of OneDrive and disconnect yourself from their server?
First: Turn Off OneDrive Sync
In the bottom right of your computer screen there should be an up-carat ^ symbol which gets you access to your various apps. You are looking for the ‘cloud’ app. In my example it’s in the third row, center.
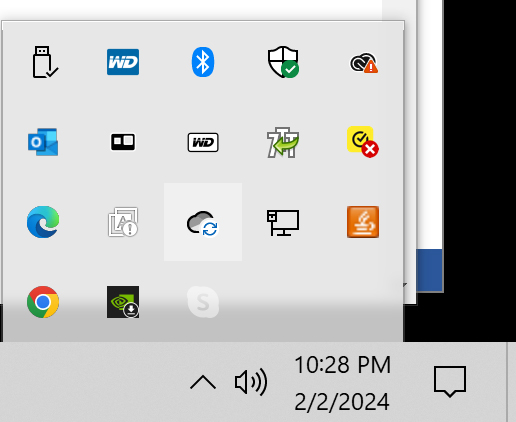
Make sure you are NOT logged in and NOT syncing. Under ‘Settings’ there should be a ‘Quit OneDrive’ option.
Second: Turn Off Word Syncing
If you use Microsoft Word, log into Word. Go into File – Options.
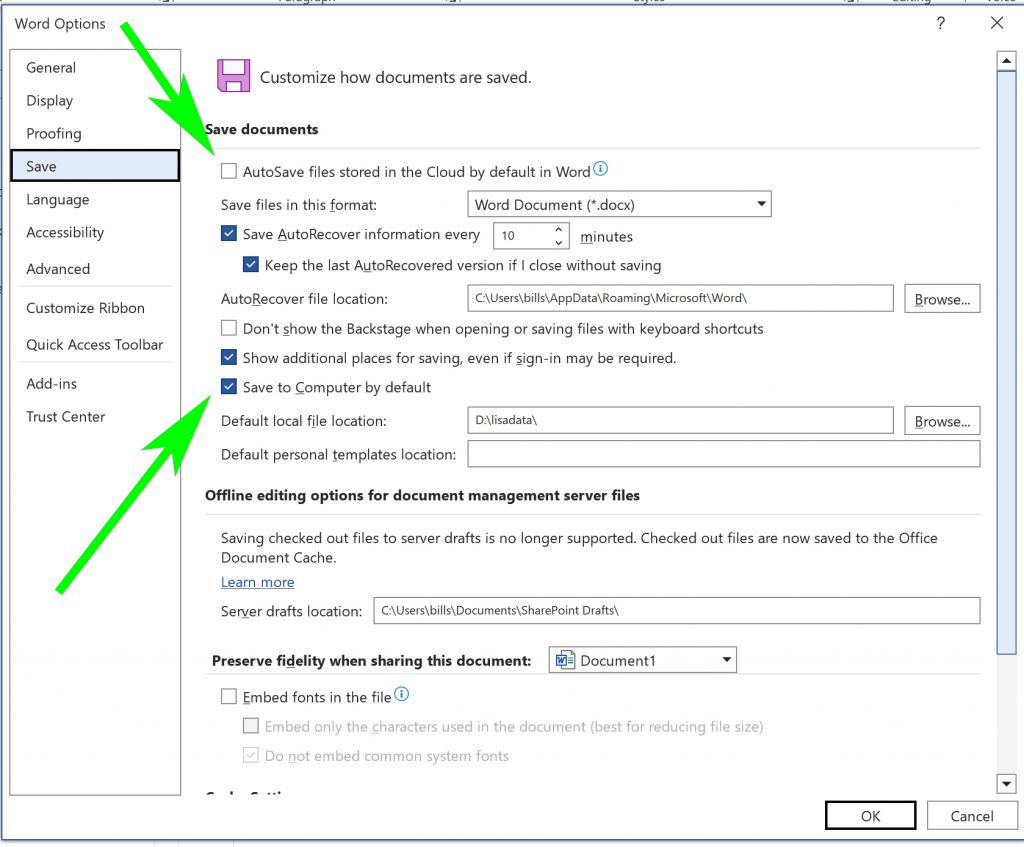
Make sure you have the Autosave files stored in the cloud by default in Word option turned OFF.
Make sure you have the Save to Computer by Default option turned ON.
Click OK and shut down Word. Do the same for any other Microsoft products you use.
Third: Download your Data
You want to download everything out of the OneDrive cloud. Yes you might have copies locally, but it’s always better to be sure.
First, locally, make a new folder somewhere. Name it something findable like ONEDRIVEDOWNLOADS. Make sure you name it so it clearly is something YOU created and not just a default OneDrive area.
Next, with a browser, go to the online OneDrive account:
https://onedrive.live.com/login/
Hover your mouse over the top folder row. When you do, you should see three dots in a row. Click on the ‘download’ option. It is going to “ZIP” all the files in that folder into one large compressed file.
IMPORTANT NOTE: This process will NOT add in “empty folders”. So if you have a subdirectory which is called “OldHouses” and that folder is EMPTY, the zip file will NOT have a subdirectory called “OldHouses”. It will be as if that subdirectory never existed. If you rely on empty folders to provide you information, this can cause you issues.
Once the ZIP file is created, OneDrive will then move that file into your ‘downloads’ directory.
When that process is completed, open Windows Explorer. Click on your downloads directory there. You should see the compressed new file as the top entry. Drag that file into the folder you created, such as ONEDRIVEDOWNLOADS, so that you have it organized there. If you want to, unzip / uncompress the file so it gives you easy access to all your files again.
If any of those steps are confusing to you, let me know and I’ll write a page for you about that particular step.
Once you are sure your folder came down wholly to your local PC without a problem, you can now DELETE it from the OneDrive system.
Fourth: Uninstall OneDrive From Your PC
In the bottom right of your PC screen, search on ‘Programs’ and choose to add / remove programs. Look for OneDrive. Choose to uninstall it. Once it is done uninstalling, it’s a wise idea to reboot your system to clear it out of any active memory.
Let me know if you have any questions or comments!
Leave a Reply